Have you ever wondered about the air you and your family breathe inside your home? As seasons change, so does the quality of the air circulating through your air ducts. Over time, air ducts tend to accumulate dust and debris, reducing the HVAC (heating, ventilation, and air conditioning) system efficiency.
But, no need to worry! You can take matters into your own hands with a simple yet effective solution – DIY air duct cleaning.
Clean air ducts are not just about a well-functioning HVAC system; they are about the health and well-being of your loved ones. Allergens, dust, mold, and pollutants in your ducts can contribute to respiratory issues and allergies.
The HVAC system is the living pulse of your home. When your air ducts are clean, your HVAC system operates more efficiently and ensures your home stays comfortable year-round. Clean air ducts mean your HVAC system doesn’t have to work as hard, leading to potential energy savings and lower utility bills.
It is a misconception that air duct cleaning is an expensive service. Opting for a do-it-yourself approach not only saves you money but also empowers you to maintain a healthier living environment.
So, why wait? Dive into the world of DIY air duct cleaning and experience the immediate benefits it brings to your home, family, and pocket. This article is a one-stop shop for all you need to know to clean air vents as thoroughly as a professional air duct cleaning service provider.
The HVAC ecosystem
Before going into the know-how, let us clear the most basic doubt regarding the HVAC system. The words’ air ducts’, ‘air filters,’ and ‘air vents’ are mistakenly used interchangeably. However, there are slight differences between these three.
Air ducts are passageways for air from the HVAC unit to travel through the home. Air vents include supply vents and return vents as openings. Air vents allow circulation from the air ducts into the rooms. Air filters clean the pollutants that infiltrate into the HVAC system.
In this article, we focus on explicitly cleaning dirty air ducts.
Is it dust mask time?
If you are a clean freak with a tad bit of OCD, we regret to inform you that air ducts don’t require deep cleaning every month. Homeowners should look out for observable signs that indicate prioritizing air duct cleaning for a healthier home environment and an efficient HVAC system.
Some of these signs are:
- Increased allergies and respiratory issues: A sudden spike in allergies, unexplained respiratory issues, or worsening asthma symptoms can be an indicator that contaminants in your air ducts are affecting indoor air quality.
- Visible dust around vents: If you find yourself dusting and cleaning surfaces more frequently, it might be time to inspect and clean your air ducts.
- Musty or unpleasant odors: Unpleasant odors from the air vents can be indicative of mold or mildew growth in the ducts. If you notice a musty smell when the HVAC system is running, it’s time to pick up air duct cleaning tools.
- Inconsistent air circulation: If certain rooms consistently feel warmer or cooler than others despite your HVAC system working overtime, it might be due to blocked or dirty air ducts hindering the proper distribution of conditioned air.
- Visible mold growth: Visible mold growth around the vents or on duct surfaces is a serious red flag. Dangerous mold cannot only affect indoor air quality but also be fatal. Immediate attention and cleaning are essential.
- Rodent or pest infestations: Noticing signs of rodents or pests in your home? Air ducts can become a hiding place for them. Droppings or evidence of infestations near vents indicate the need for a thorough cleaning.
- HVAC system noises: Unusual noises from your HVAC system, such as rattling or whistling sounds, can be a result of debris or blockages in the ductwork. Regular investigation can prevent these issues.
- Long periods since last Cleaning: Even if there are no overt signs, if it’s been several years since your final air duct cleaning, it’s advisable to schedule one. Regular maintenance prevents potential problems and ensures a healthier living environment.
- Recent Home Renovations or Construction: Any recent home renovations or construction projects can introduce dust and debris into the HVAC system. If you’ve undertaken such projects, it’s a good idea to check and clean your air ducts.
NOTE: Top of Form
DIY air duct cleaning is not recommended in several situations. If your home was built before 1979, it may contain asbestos, posing health risks when disturbed. Visible mold, extensive pest infestations, complex ductwork designs, hard-to-access areas, or underlying issues like leaks or structural damage also warrant professional services. Individuals with respiratory problems, allergies, or health conditions should avoid DIY cleaning, especially when mold or contaminants are present. In these cases, professionals ensure safety and thorough cleaning.
Essential tools for the DIY
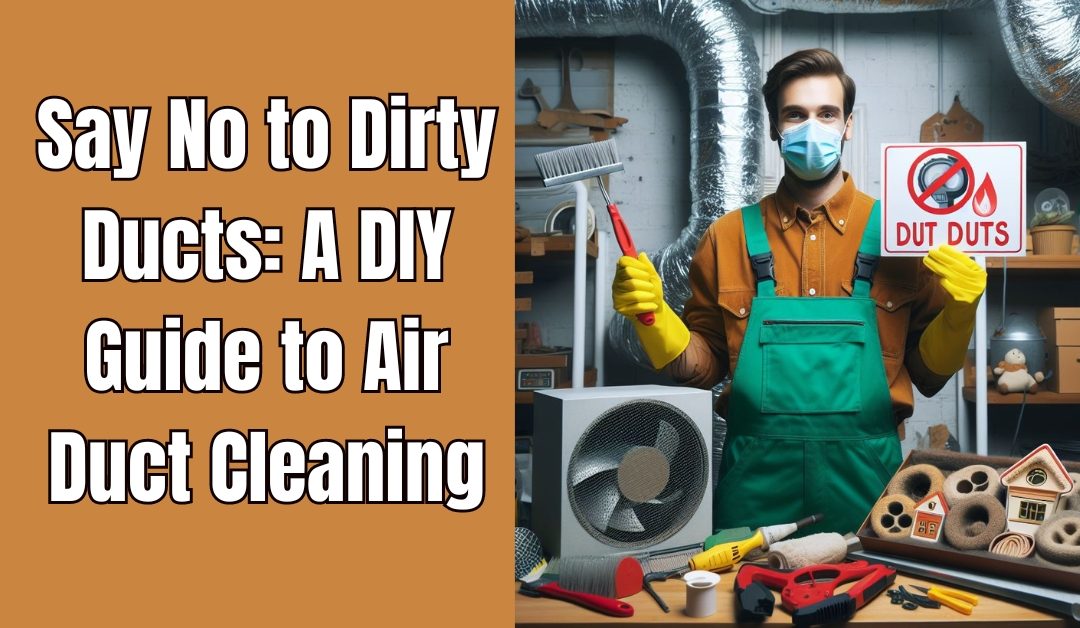
Embark on your DIY air duct cleaning adventure with the right tools! To be geared up with the right equipment, you don’t need many specialized tools. You get ‘Ventilation victory’ can be a possibility if you get hands on some good dust mask, hose attachment, nozzle attachment, brush attachment, microfibre cleaning cloths and more such equipment.
So, without getting confused with complex, specialized tools, gather the following to begin with your DIY:
- Protective gear: Wear eye protection goggles, gloves, and a dust mask to safeguard eyes, nose, and lungs from dust particles during the cleaning process.
- Vacuum with hose and nozzle attachment: Use a high-powered vacuum with proper hose and nozzle attachment to reach deep inside the ducts for effective cleaning. Consider our super robust and durable Dual Motor Duct Vacuum System for your DIY air duct cleaning process.
- Brush: Use any hard-bristled brush, such as a toilet brush or large paintbrush, as a practical tool for dislodging and removing dust and debris from the duct walls.
- Flathead screwdriver: A handy flathead screwdriver is required to remove air vent covers for access to the air duct for cleaning.
- Paper towels: Paper towels to cover the air vent openings to prevent dust from spreading.
- Dish soap: Have a handy dish soap by your side for deep cleaning of the settled dust around the furnace air filter.
- Microfiber cleaning cloths: Use a lint-free microfiber cloth to wipe away dust residue from the vent sides.
- Replace the furnace air filter: Choose a good quality furnace air filter to replace the old one after the air duct cleaning process.
Full-proof DIY air duct cleaning process
Gathering the tools from the above list is the first step to improving the indoor air quality of your home. Let’s put on our dust masks and get straight for a battle against dust and debris!
- Familiarize yourself with vent locations: Locate the supply and return registers/vents of your HVAC system. Supply vents release conditioned air, while return registers/vents draw air back into the system. A trick to tell the both apart is by using a tissue to determine the suction pull of the return registers/vents.
- Switch off the HVAC system: Prioritize safety by turning off your furnace or AC unit. Switch off the thermostat and the corresponding power breaker in your home’s designated area.
- Vent cover removal: Methodically remove vent covers from the supply and return registers/vents. A flathead screwdriver can loosen attachment screws, helping in the easy removal of covers. Avoid excessive force, as vent grillers and dampers are delicate and prone to breakage.
- Shield supply vents: While working on some supply vents/registers, block the other supply vents/registers with a sturdy paper towel or paper pieces. This prevents dust from escaping during the cleaning process.
- Air filter replacement: For return registers, existing AC and furnace air filters may be present behind return grilles. Leave them untouched until the cleaning process concludes, postponing replacement until necessary.
- Loosen dust and debris within air ducts: Tap gently on the exterior of air ducts surrounding the openings to dislodge debris and dust, allowing for effective vacuuming. If external access is unavailable, tapping on the inside of vents, just beyond grills and registers, can be an alternative.
- Vacuum patiently: Working on each duct, vacuum to eliminate dust and debris on vent covers and within ducts’ accessible regions. Be mindful of protective gear, as the process may dislodge additional dust on the vent surfaces. Wipe down the inner areas of vents with microfiber cleaning cloths, reaching as far as safety allows.
- Removal and cleaning of supply registers: Systematically detach and bring supply registers to a sink for cleaning. Utilize a hard-bristle toilet brush or large paintbrush, dish soap, and warm water for a thorough rinse. Dry each register before securely reinstalling it on the vent.
- Cleaning return grilles: Repeat the cleaning process for return grilles, giving them the same care as supply registers.
- Filter replacement: Set aside the old AC or furnace air filters and replace them with new ones. You should replace the air filters every three months to minimize the need for both DIY and professional cleanings, optimizing HVAC efficiency and energy consumption.
- Use a sanitizer (optional): After the DIY, consider spraying our BioClean Duct Sanitizing Sprayer as a final step in your air duct cleaning process. Our product is designed for the “end-of-line” ducting at the register where the air pressure is at its lowest, with a high chance of debris buildup.
Celebrate your ventilation victory!
Bravo on completing this DIY project. Sprinkle a room freshener, and with a huge smile, breathe in the air free from dangerous mold, debris, dust, and allergens. Before you leave, here is a bonus tip from our side: purchase an air purifier for healthier indoor air quality. UV light technology in air purifiers kills mold, viruses, and bacteria growing in the HVAC system and prevents its spread throughout the home.
If you want to elevate your DIY air duct cleaning game and ensure a pristine, healthy living environment, our Complete Duct Cleaning System is at your fingertips for a thorough, deep cleaning experience.
Don’t just clean; invest in the future of your home’s air.

